Ornamental Plastering: Add One-of-a-kind Touches to Your Home's Interior
Ornamental Plastering: Add One-of-a-kind Touches to Your Home's Interior
Blog Article
Key Tips and Devices for Effective Smudging in your house Enhancement Endeavors
Accomplishing a remarkable plaster surface in your home enhancement tasks needs a mix of the right tools and tested methods. Necessary carries out such as the hawk and trowel are essential for effective application, while correct surface prep work lays the foundation for success. Additionally, comprehending the nuances of blending plaster and applying it in slim layers can significantly influence the last result. As we discover these essential elements, it becomes obvious that preventing typical challenges can boost your plastering abilities-- guaranteeing your following job not just fulfills yet surpasses assumptions.
Vital Smudging Tools
A plasterer's toolkit is essential to accomplishing a smooth and sturdy coating on walls and ceilings. The important tools encompass a selection of implements designed to assist in the smudging process efficiently and properly. Key components consist of a hawk, which is a flat, square tool used to hold the plaster while applying it to surface areas. This device permits for simple transportation and application of the material.
In addition, a blending bucket is necessary for preparing plaster, making certain the ideal consistency before application (Plastering). Together, these essential plastering devices make it possible for both experts and DIY enthusiasts to achieve top quality outcomes in their gluing projects.
Surface Area Preparation Methods
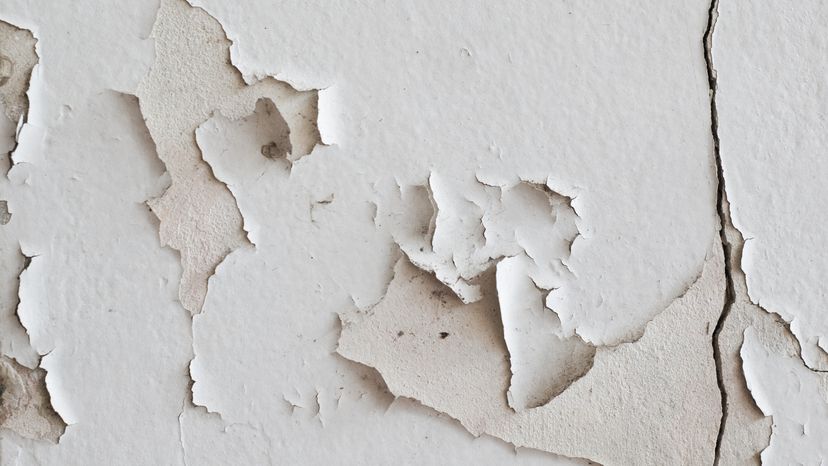
Effectively preparing the surface prior to gluing is critical for making certain bond and accomplishing a remarkable finish. The primary step includes cleansing the surface area to eliminate any dirt, grease, or old paint that may hinder the plaster's capability to bond effectively. An extensive clean with a suitable cleansing option is advised, adhered to by permitting the surface area and rinsing to dry entirely.
Following, analyze the surface area for any kind of cracks or flaws. These must be filled up with an appropriate filler compound and enabled to cure according to the producer's guidelines. For permeable surface areas, applying a primer is important to develop a consistent texture and enhance adhesion.
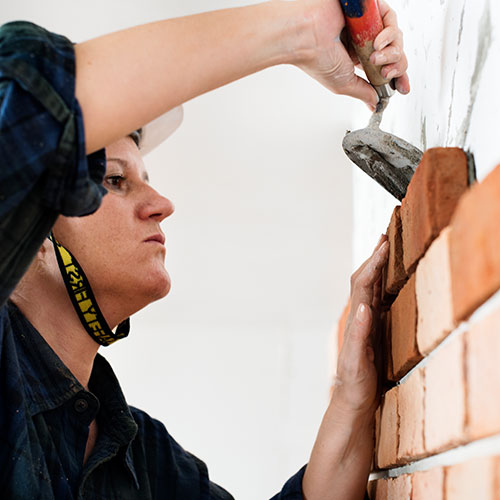
In addition, it is crucial to ensure that the surface is steady and structurally audio. Any kind of loose products, such as flaking paint or damaged drywall, need to be repaired or removed. If functioning with masonry surface areas, take into consideration using a scratch layer to improve hold.
Mixing Plaster Like a Pro
Making use of a tidy blending container, put the water first, after that gradually include the plaster powder while mixing constantly. This approach helps to avoid clumping and makes certain an even circulation of materials.
When mixed, allow the plaster to relax for a couple of minutes to make it possible for the plaster crystals to moisten fully. This pause boosts workability and lowers the threat of breaking throughout application. By adhering to these steps, you can blend plaster like a professional, setting the foundation for a find this successful gluing project in your home enhancement undertakings.
Application Techniques for Smooth Finishes
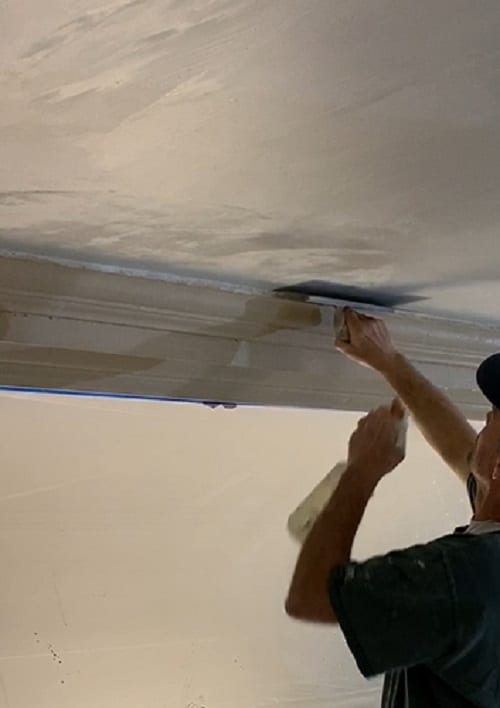
With the plaster combination prepared to the suitable consistency, the next action involves picking suitable application techniques to achieve a smooth finish. The option of application devices dramatically influences the last look of the plastered surface. For optimum results, a stainless-steel trowel is frequently recommended. This device permits a fine, even distribution of plaster across the surface area while minimizing trowel marks - Plastering.
Begin by using a generous quantity of plaster to the surface area making use of the trowel, guaranteeing it sticks well. Employ a methodical technique, functioning from the bottom higher. When the preliminary layer is applied, utilize a sweeping activity to smooth the surface, applying even stress. In locations that call for even more thorough interest, consider using a float, which can help get rid of any type of blemishes and produce a consistent appearance.
For the final touches, a moist sponge can be made use of to refine the surface additionally. Lightly haze the plaster with water and carefully rub the surface area to achieve a sleek result. Constantly keep in mind to function in small sections to maintain control over the application process, ensuring a smooth, expert surface throughout your plastering task.
Common Errors to Prevent
When starting a smudging task, staying clear of usual blunders is important for achieving a flawless coating. Among one of the most widespread mistakes is disregarding surface area preparation. Failing to clean and fix the substrate can bring about inadequate attachment and unequal surfaces. Make sure that all dust, oil, and loosened products are eliminated before applying plaster.
One more usual mistake is using plaster as well heavily. Thick layers can crack as they dry out, jeopardizing the honesty of the finish. Rather, select multiple thin layers, enabling each coat to dry totally before applying the following.
Additionally, inadequate Our site blending strategies can result in irregular texture and workability. Constantly follow the supplier's directions for blending proportions and completely mix the plaster to achieve an uniform uniformity.
Timing additionally plays an important role; plaster should be applied while the substratum perspires to improve adhesion. Lastly, prevent utilizing incorrect tools. High-quality trowels and floats can make a significant difference in attaining a smooth coating. By steering clear of these usual risks, you can improve the high quality and longevity of your plastering job, resulting in an extra professional cause your home improvement ventures.
Conclusion
Reliable smudging requires a comprehensive understanding of vital tools and strategies. By using correct devices, making sure careful surface prep work, and adhering to advised blending proportions, optimum outcomes can be achieved. Using appropriate application approaches further improves the coating, while awareness of typical blunders can prevent setbacks. Mastery of these aspects not only adds pop over to this site to the visual allure of a space however also guarantees sturdiness and durability in gluing jobs, making them indispensable to successful home enhancement undertakings.
A float is an additional important device, which aids in leveling the plaster and attaining a consistent surface area.
By adhering to these actions, you can mix plaster like a professional, establishing the structure for an effective gluing project in your home enhancement undertakings.
Gently haze the plaster with water and carefully rub the surface area to attain a polished impact.
Report this page